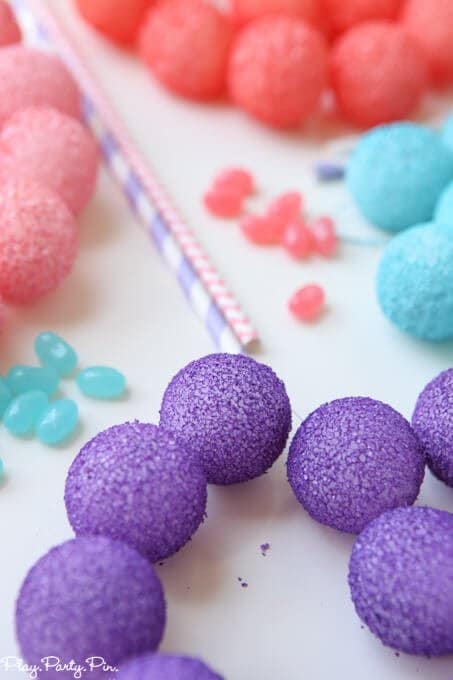
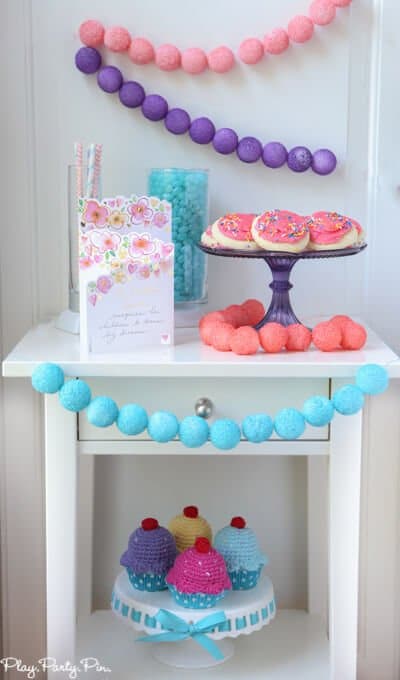
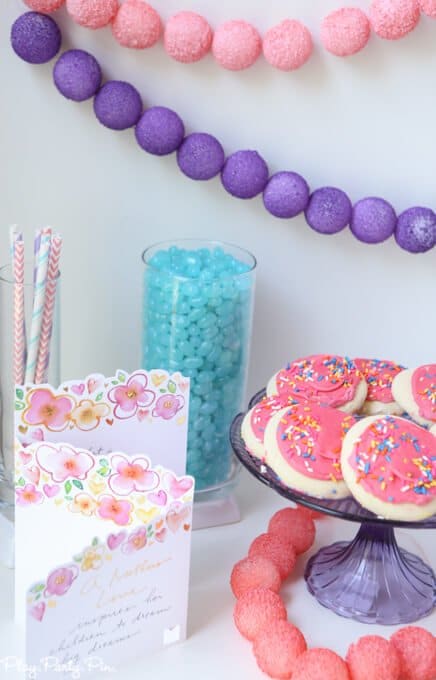
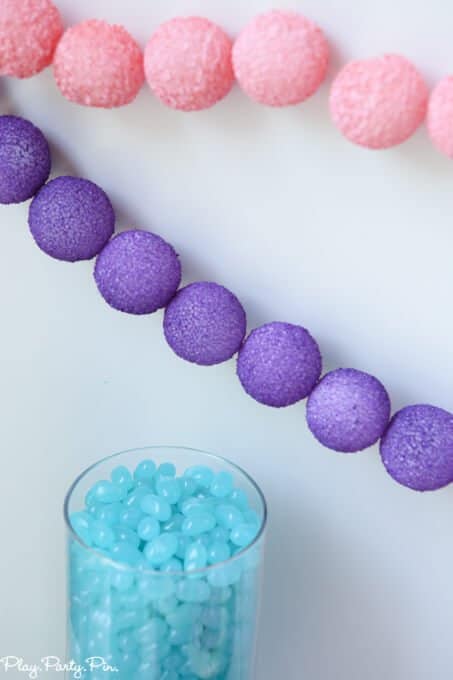
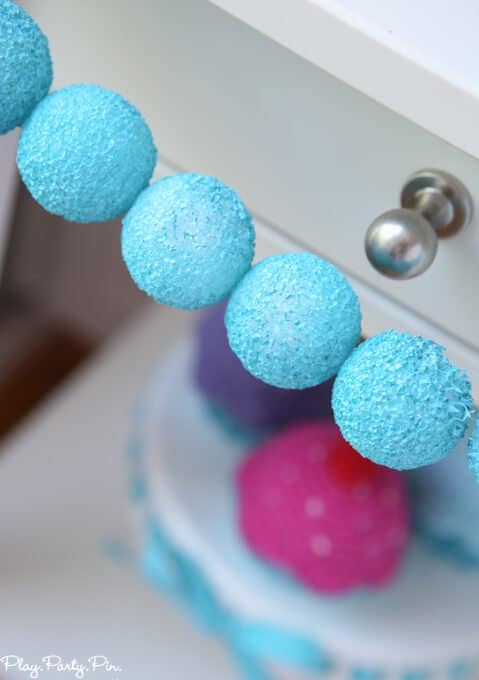
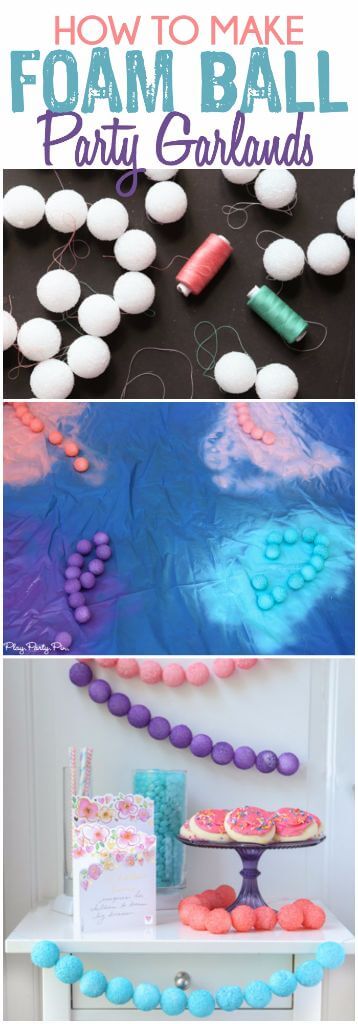
Last month I told you that I’m a part of the FloraCraft® #MakeItFunCrafts team for the next few months. Last month I made a simple spring cake centerpiece from foam wreaths and this month I’m so excited to share my new favorite party decoration made with 1 1/2 inch FloraCraft® Make It: Fun® Foam Balls. These foam ball garlands are the perfect way to add a pop of color to your party backdrop, to the front of a table, or even just for a little added decoration right on the table.
I created four different garlands in pink, coral, turquoise, and purple to match the colors for my Mother’s Day party coming up later this week, but you could just as easily spray paint them red and green for an apple party, red white and blue for a 4th of July party, or really any color you want!
DIY Foam Ball Garlands
Supplies:
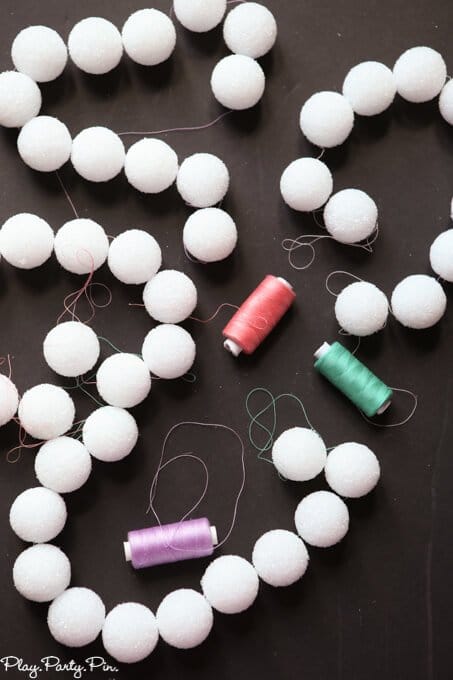
1 1/2 inch FloraCraft® Make It: Fun® Foam Balls Foam safe spray paint (this is important, make sure it’s styrofoam safe or else it’ll completely melt the balls) Thread that coordinates with the color of the spray paint, or contrasts if you’d prefer Needle
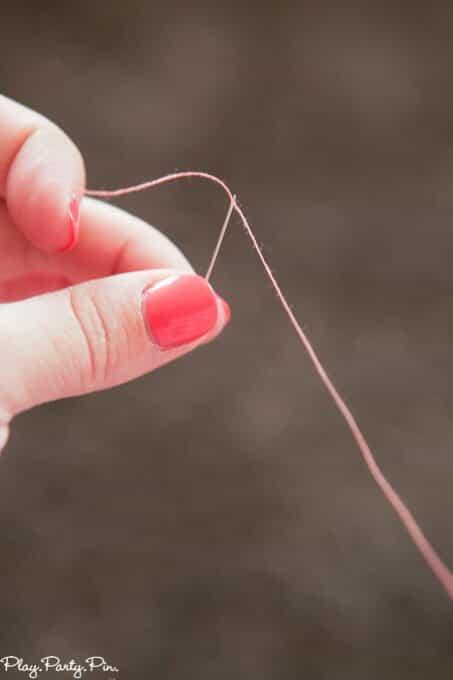
Instructions: Step 1 – Thread your needle and tie the thread to the eye of the needle.
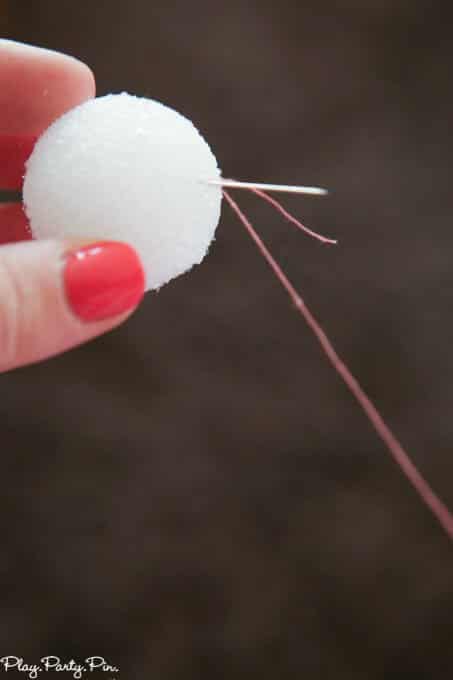
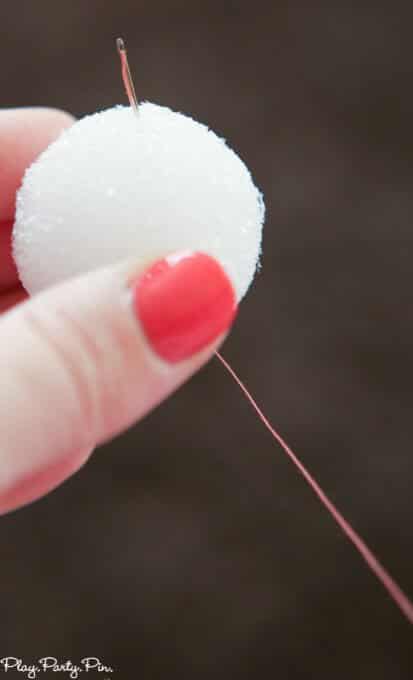
Step 2 – Poke the eye of the needle (not the point) through the first foam ball and pull the eye through. This is why it’s important to push the eye through first; it’s much easier to pull the eye through than to pull the point of the needle through. If you’re having problems getting the needle through, just tap it with some scissors or something else metal to tap it until you can grab the eye.
Step 3 – Continue threading the foam balls until you reach your desired length of garland. Cut a long tail of thread on either side of the foam balls. Create as many strands as you’d like.
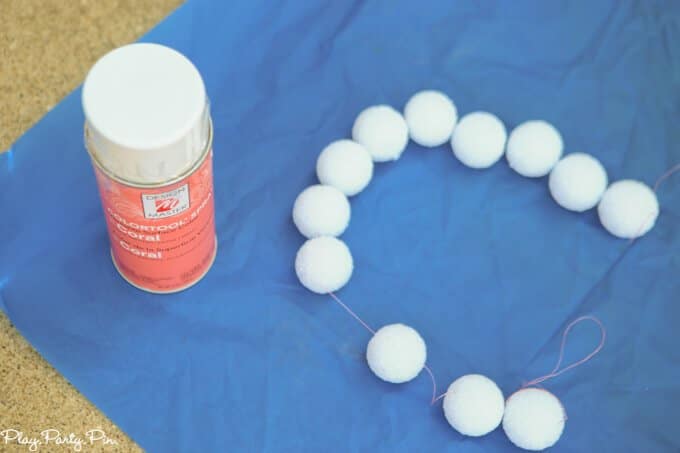
Step 4 – Lay your garlands out on a trash bag, paint tarp, or anything else that won’t be ruined by spray paint. Make sure to pull the strings out so that they don’t get stuck on the foam balls when you’re spray painting.
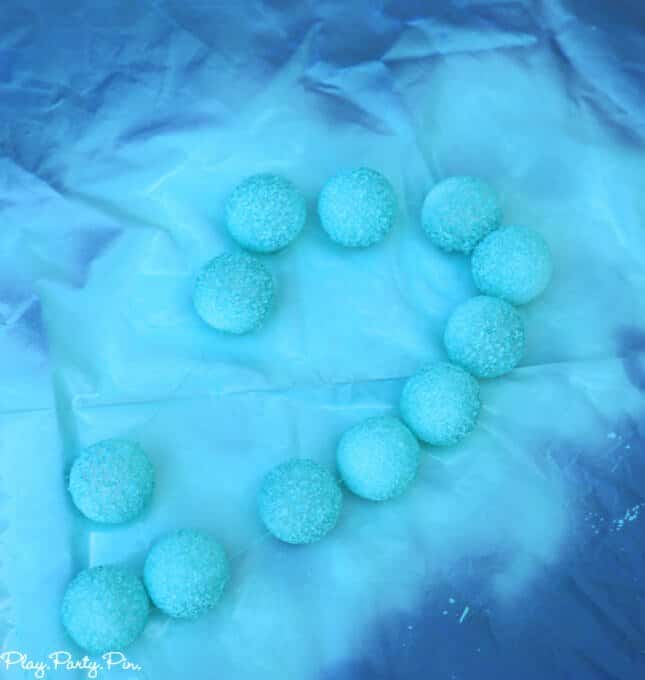
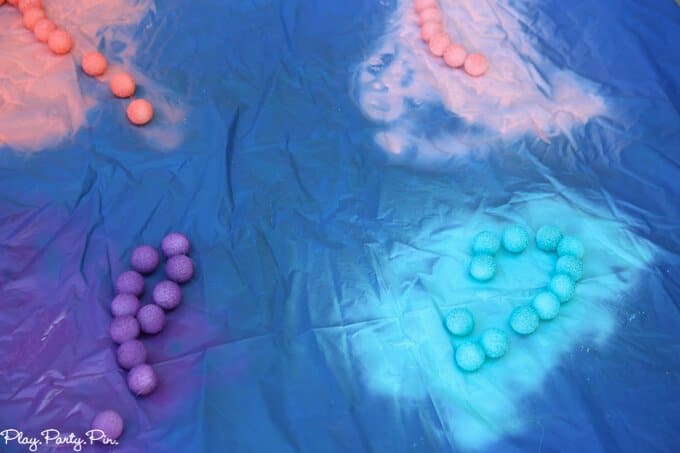
Step 5 – Grab one end of your first garland and spray paint the foam balls, rotating them as necessary with the thread you’re holding, until they are completely colored with spray paint. Instead of putting the foam balls back into the excess piles of spray paint, move the painted garland to an empty spot on the tarp to dry.
Step 6 – Repeat with all of the garlands then let dry.
Step 7 – Once garlands are dry, they’re ready to use in your party! Since the FloraCraft® Make It: Fun® Foam Balls are so light, you can actually just hang the garlands with a little tape.Use them wherever you need a little pop of color or something to fill up the space. And if you have a really big space to fill, you could do the exact same thing with larger FloraCraft® Make It: Fun® Foam Balls (they go up to 6 inches)!
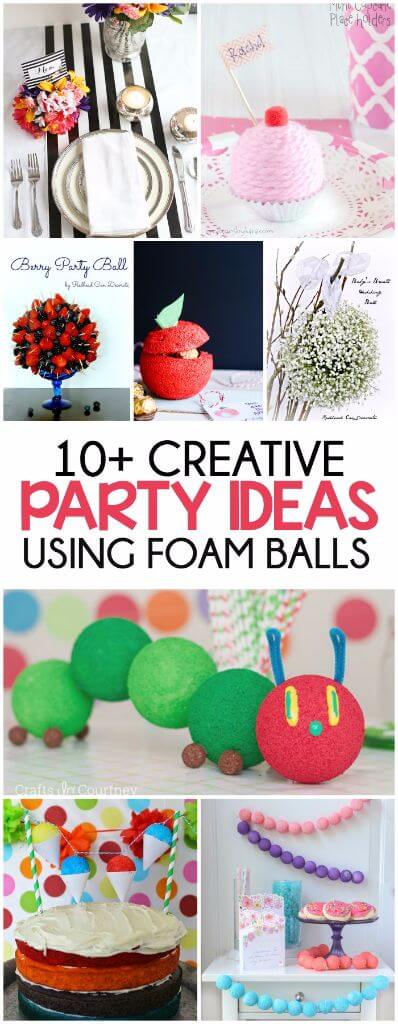
Have leftover balls that you’re not using for your garlands, check out these other awesome ways you can use FloraCraft® Make It: Fun® Foam Balls from my #MakeItFunCrafts team members!
DIY Floral Placecards |Mini Cupcake Place Holders Berry Party Ball | Baby’s Breath Wedding Ball | Teacher Apple Gift Idea | The Very Hungry Caterpillar Centerpiece | Mini Snow Cone Cake Topper